Walkthrough for The Legend of Skye
Part I. The druidic grove.
After speaking with the Woodland Spirit, head to the chief druid's house and talk to him about what happened.
Don't forget to grab the fox tail hanging next to the door.

After speaking with the chief druid, head to the top of the mountain and collect the concave mirror from the solar furnace.

Next, take the path in the upper right corner of the forest until you reach the house with gnome statues. Enter through the door.

Inside that house you must take the poker that is next to the fireplace. Then try to get the piggy bank. It will fall to the floor and the coin will be lost under the bed. Catch it using the poker.
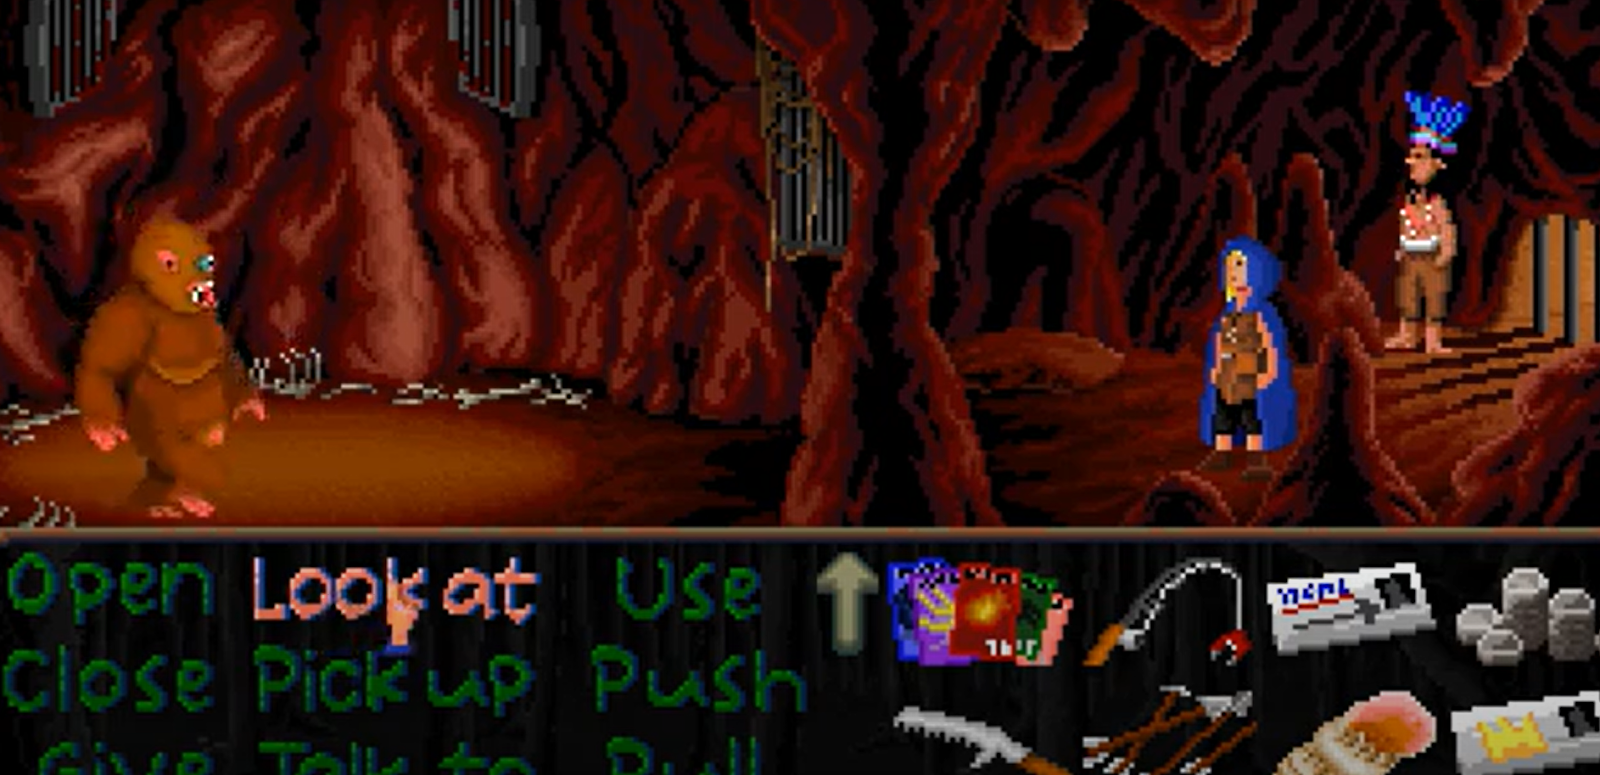
Enter the shaman's secret hideout
With the poker you can also hit the bucket that is on the ceiling, hit it again before it stays still, this way it will spill the water on the floor. Then you will see that a wooden plank is dry because water has seeped underneath. Remove the plank with the poker. Pick up the wooden staff that was hidden under the floor.

Leave the house and give the staff to the gnome near the dolmen. Pull the staff to open the secret door.

Once inside the shaman's hideout, we will have to take several objects: the mushrooms, the chlorine, t spatula and the can of pineapple that is in the refrigerator.

Riddle of the Peddler Druid
Then we can return to the druid village. When we arrive, we will see that the peddler druid has done business with another druid. We can ask the peddler druid to show us the briefcase, after insisting a little. He will propose a riddle to us while moving his hands. We should not pay attention to what he says, we simply have to pay attention to the wooden figures that he moves. We will have to tell him how many of these figures are pointing towards the mark on the tree (to the left).

When we answer his questions correctly, he will think that we are part of his group and will show us the briefcase. We can buy him a coconut with the coin we have obtained from the piggy bank. The coconut has a worm inside. To get it out we have to throw it into the pan in the chief druid's house and then pick it up with the spatula. The worm will release from the bottom of the coconut. Then we must give the worm to the owl in the shaman's hiding place to be able to take the letter.
After reading the letter we can talk to the chief druid. He will tell us the new mission and give us a blowgun.

Part II / III. Skye in the city.
To leave the forest we must take the path to the left of the intersection. On that map we have to take the arrow and the sign.

Before heading to the city, we can go to the pier first. There we have to talk to a boy who is fishing, until he tells us that he wants some buns that are in the city. Then he will give us a cookie.

Enter the city
Next we can go to the city gates, where there will be a guard who will not let us pass. There we have to take the adhesive tape and the sheets from the stack of posters. With the poker we can also reach the cardboard box that is in the drain and thus grab the piece of pizza that is inside. Then we must distract the guard using the blowgun with the bell, while he is distracted we can take the skeleton's boot. Inside the boot is a knife.

If we talk to the guard we can try to manipulate him with a druid mind trick to let us pass, but it won't work.

The guard will ask us to prove that we are not druids. With the knife we can open the can of pineapple and use it with the pizza to make a pizza with pineapple. After eating the pineapple pizza the guard will let us enter the city.

Take the chicken sign
Once in the city, the first thing we can do is take the corn grains and talk to the butcher. We will also need to take the chicken poster. To do this we have to distract the butcher using the poker on the advertisement that hangs in his store. When he is looking to the left we can throw the roasted chickens on the right to the ground. While you are collecting the roast chickens we can take the chicken sign.

Then we can continue along the main street of the town and enter the armory. There we can talk to the shopkeeper and then take the mirror that is in the fitting room. It will be necessary to use the adhesive tape on the mirror first because it is cut.

Enter the workshop
Afterwards we can go to the pastry shop. Before entering we should read the sign at the entrance where there is a job offer. To convince the cook that we can take the position in the workshop, we will have to give him the cookie that the child gave us.

Although we can now enter the workshop, we can leave for now because we still wouldn't get anything useful. Now we can continue along the main street and head to Bard's store. As soon as you enter your store, a statue of a magician will catch the knife in your pocket.

Bard's Shop
The first thing is to recover the knife. After talking to Bard about the trading cards, he will give us some sample packs. When we open them we will not find any prize. If we keep buying card packs (until we have 5) we can finally tell him that we think he is scamming us. Bard will open the safe to show us one of the prizes. While doing this, we can open the magician's arm with the knife and take the magnet hidden inside.
If we open 22 packs of cards we will obtain an achievement.

We can change songs if we use the radio to unlock an achievement.

Once this is done, we can leave the store and go to the main square of the city where there is a fountain.
Mirror riddle
Once in the square, we can put the concave mirror on top of the fountain float. In this way it will reflect the sun's rays at a point on the street.

If we have previously taken the float to keep it in the inventory, we will be pricked with the blowgun. We will have to cover the hole with adhesive tape and inflate it again with the syringe found in the workshop.
Once the mirror is placed on top of the float, we will go to the alley.

If we add the flat mirror to the light point on the ground, the light will reflect on the rope and generate fire. Once the rope breaks we can take the saw.
Then we can also take the broken bucket and the rope. We can dye the fox tail with red paint. With the red fox tail and the bucket we will create an improvised helmet. We will also talk to the beggar and ask him to make us a paper boat with the sheets of the posters.
Take the fishing rod
Now we can leave the city for a moment to go back to the pier. With the knife we can open the chlorine bottle. We will use the chlorine on the fish the boy is trying to catch. When he puts the rod on the ground, we can pick it up. We will join the magnet with the rod to obtain a magnet-fishing rod.

First duel with the archer
Then we can head to the forest clearing to meet the archer. After talking to him, we can participate in a duel with the bow. We will have to shoot at the target with the bow that he will give us and the arrows that are next to the rock. After participating, he will give us a card from the Friends of the Arrow club.
Hunt the squirrel and catch the wasp nest
Before returning to the city, we can go through the exit of the forest, where the wasp nest is located. To catch it, we will have to put the float (inflated) on top of the rocks. Then we will cut the nest with the saw.
If we want an achievement later, it is important that we leave the float on top of the rocks and that we do not have it on us, if we do not need it for anything else.
To catch the squirrel, we will only have to put corn grains on top of the rock. Then we will have to move away. When the squirrel comes out, we can hunt it with the blowgun.


Business with the armorer
Now we can return to the city and deliver the giant wasp nest to the armorer. She will let us take the children's arrows. We can also show you the Friends of the Arrow card. Because we are members of that club, he will give us some blindfolds.
Take the chocolate bun
If we go to the fountain we can use the magnet rod to pick up the nickel coins that are inside. Then we will go to the workshop.

There we will tie the rope to the trapdoor in the floor and to the ceiling lamp. By pulling it we will unclog the trapdoor. Inside the paper boat we will put a chocolate bun and a coin. We'll let him navigate the channel under the hatch.

We will quickly leave the workshop and wait for the paper boat to pass through the canal to fish it with the magnet rod. If we give the bun to the fisherman boy, he will let us get on his boat and we can visit the witch.


First visit of the witch
As soon as we arrive at the beach with the boat, we can catch a conch. Then we will head towards the stone house. The witch will receive us in a hostile manner and we will have to flee. For now, we won't be able to do anything else with the witch, so we'll head towards the archer's clearing.

Take the butcher's glider rooster and build the chicken arrow.
If we give the archer the bandages, we can shoot blindly. While he puts them on, we can grab a pink banner. We can use the banner with the squirrel, that way it will have an appearance like the one in the advertisement. Now we can deliver the squirrel to the butcher and he will give us the gliding rooster.
With the gliding rooster and the arrow piece, we can create an arrow chicken. We have to return to the archer's clearing. First it will be necessary to add the chicken sign on top of the target. Then we will ask the archer for a blind duel. While he puts on the bandages, we will add the children's arrows to the pile of arrows. Once he has missed the shot, we will shoot using the chicken-arrow.
This way we will be able to beat the archer and have him give us his map.


Recover the treasure with the archer's map
With Percival's map, we can go to the thieves' hideout. If we use the rod-magnet inside the pipe we will recover a metal chest. Inside find an old book that we will deliver to the witch later.

Get the sword from Bard's shop
We will head to Bard's shop and hide behind the book shelf. There we will put on the case and then use the shell. We'll pretend to be a guard to scare Bard. After Bard hides in the safe, we can get the sword.


Fight against the witch
Now that we have the sword we can head towards the witch's island. To win it, we simply have to defend ourselves with the sword (right arrow or K) when the lightning is blue. If we do this three times we can defeat her.


Once the witch has surrendered, we can talk to her and ask for help. We will give her the book that we found in the thieves' hideout and she will create a poisoned apple for us.
If, on the other hand, we lose the fight, we will obtain an achievement, although there are other places where it can be obtained.

Enter the castle
With the apple that the witch has given us, we will go to the workshop. There we will add the apple to the pastry dough. We'll call the cook with the bell to try it. Once the cook is unconscious on the ground, we can take his hat where inside we will find the special card to access the castle.


Part IV. King Finn's castle
Inside the castle we will take the bone that is inside a cell. We will tie the bandage at one end and use it with the barrel of rum open. Then we will light our makeshift torch on fire with the torches on the wall.

We will go down the stairs and use the torch we made in the ditch, thus lighting a fire and illuminating the room.

We will use the shell several times to break the green block where the shaman is locked. Once we have rescued him, the king and the sorcerer will appear. We'll talk to them for a while until they throw us through the trapdoor.

During the conversation with the king, we will be given a riddle. If we choose the correct answer “ladder” we will obtain an achievement.

Escape from Cheeta
To escape from the gorilla we will have to grab the rope that is hanging. To do this, we will have to feed Cheeta a couple of times, leaving the corn or mushrooms on top of the flat rock. When Cheeta goes to get the food, she will move the rope. In the end we will have it within our reach and we will be able to take it.
We'll have to tie the rope to the bars and then leave it on top of the rock. When we leave food on the rock again, Skye will tie Cheeta's hand with the rope. Then we'll just have to shoot her in the eye with the blowgun. Cheeta will run out and tear off the bars.
When we leave we will obtain the achievement.

Part V. The three ingredients.
Right after escaping the castle, we will talk to the shaman and he will tell us that we have to meet in his secret cave. Once there, he will ask us for three ingredients to perform the shamanic ritual and locate Malgrim's tower.
Find the pearl of the pond (enchanted forest)
One of the ingredients that the shaman asks us for is a pearl found in a pond, in the center of an enchanted forest. First we must talk to the witch so she can tell us how to move through the forest. She will tell us that we have to go north until we find the yellow flowers. Then we will have to move east until we find the pond.
The secret lies in knowing where north is. In the forest we will find stones, and these have moss. The moss on the stones points to the north direction. After moving north five times, the yellow flowers will appear. Then we will move towards the east, with respect to the north indicated by the stones.

Finally we will find the pond, but as soon as we arrive a fish will eat the shell. We will only have to move the rock with the poker and catch a worm from there. We will use it as bait on the fishing rod. This way we can get hold of the fish that is at the bottom of the pond and that has eaten the pearl. With the fish on us, we can now leave the enchanted forest.

Get the halluciweed leaves
The first thing will be to talk to the chief druid to ask for the leaves. He will tell us that they are only available for VIP druids. Luckily, there is a pipa tournament where Skye can enter to become a VIP druid. The next step will be to talk to the druid next to the wolf skin. He will give us a pipe to participate.

Then we will talk to the peddler druid. He will tell us that he has changed his business and is now dedicated to energy drinks. We will ask you for a can and a straw.
Then we will head back to the shaman's secret cave. We will put the straw into the bucket of soapy water. Now we can go to the top of the mountain where the tournament is held.

We will speak to the contest organizer and ask you to participate. After inhaling air, we will put the pipe aside and use the soapy straw to exhale. A soap bubble will be created with the smoke ring inside. Just before passing through the second hoop, the bubble will stop. We'll have to use the blowpipe to puncture it. This way we will win the contest and they will give us a trophy.

Now we can go to the druid chief's house to give him the trophy. He will give us the halluciweed leaves.
Finding the diplodexus tooth
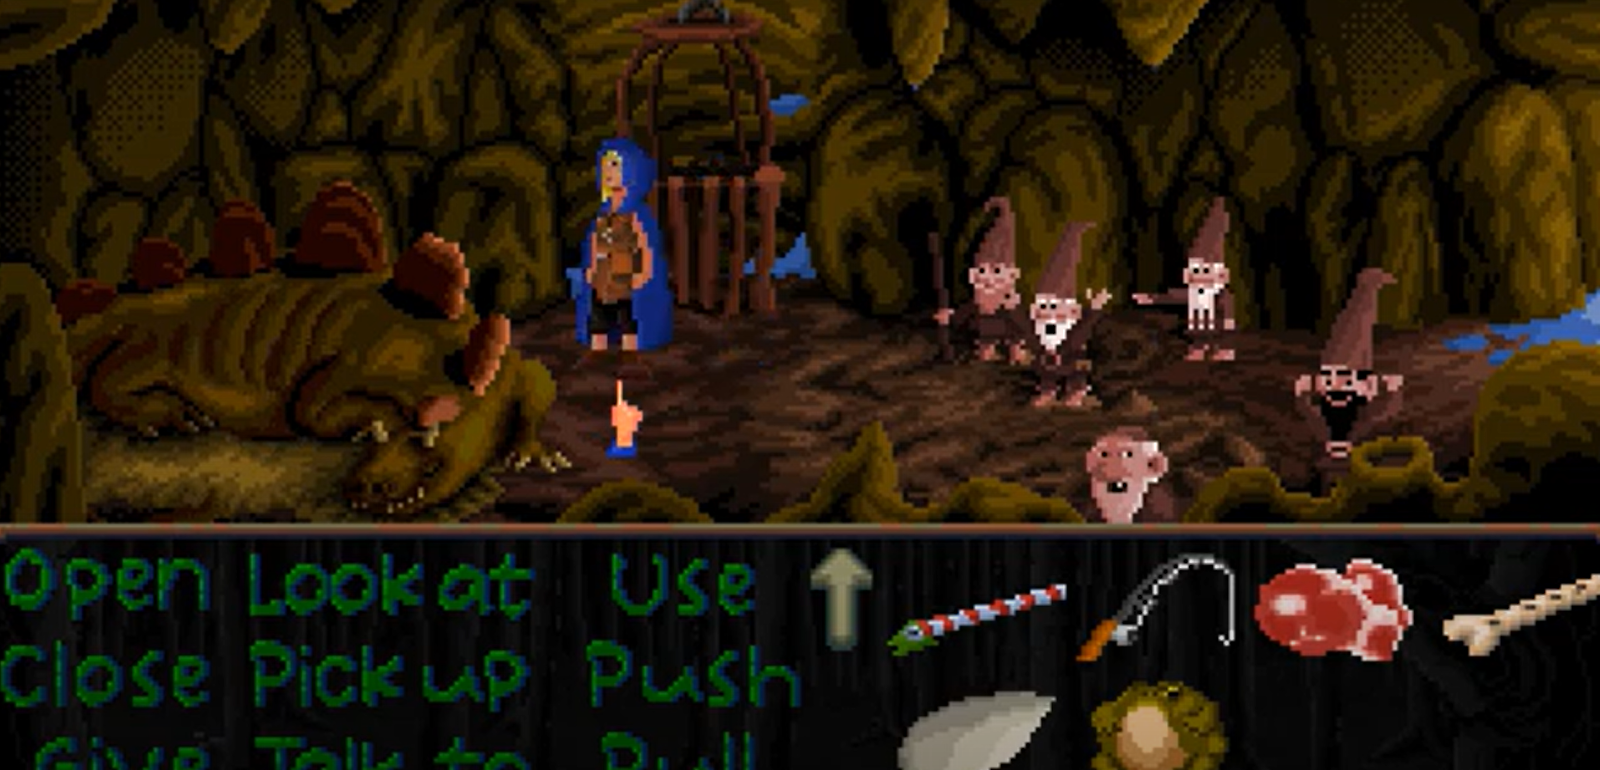
We will head towards the gnome village that the shaman has marked for us on the map. Once there, we will talk to the gnomes to tell us where the mines are and to give us a packet of sugar. We must also not forget to take the lemon and the cotton thread.
We will use hallucinogenic mushrooms to put the dog to sleep and thus catch the pieces of raw meat.

Once we reach the mountain pass, we will first take the path to the left. There we will find a giant termite nest. We have to squeeze the lemon in the ditch that is in the middle of the road. This way when the termites come out they won't eat us.
Once this is done, we can leave the fish on top of the flat rock so that the termites can eat it, so we can recover the clam. Then, we have to throw the clam into the pan of the chief druid's house to open it, and get the pearl hidden inside.
We don't have to forget to pick up the twig from the ground before leaving this stage.

If we continue along the same path, we will reach the entrance to the diplodexus cave. There we will find a guard who will not let us pass. It is important that we collect the bone that is on the ground, in front of the cave.

Before returning to the gnome camp, we should take the other path of the mountain pass to reach the mines. There we can open a wooden box with the poker and collect some fuses and a stick of dynamite. The entrance to the mine is blocked with an armored door and Skye will tell us that we have to ask the gnomes in the town.

When we return to the gnome village we will have to ask them where the key to the locked mine is located. They will tell us that a gnome who is now petrified had it.
We will also have to use the bone with the woodpecker to obtain an improvised flute.
Then, we can head towards the druid village, until we reach the chief druid's house again. There we will light the fuses with fire and head towards the entrance of the shaman's house, where the stone gnomes are. It is important to keep in mind that we will have to keep the fuses lit. When one of them is about to turn off we will have to turn on another.
When we get in front of the stone gnome who has the key, we will have to put the stick of dynamite in his mouth and use the lit fuses. This way we will break it and get the key and an achievement.


With the newly recovered key, we can head towards the mine and open the armored door. We'll have to pour the sugary drink into the hole. Then we have to combine the cotton thread with the sugar and the twig. We will put the sugared thread into the hole to obtain the sugar crystals.
After doing this, we can return to the entrance to the diplodexus cave.

Once at the entrance to the cave, we will use the flute to confuse the sentinel gnome so that he leaves his post. If we decide to enter the cave and walk through the mud, we will awaken the beast and it will petrify us.

Instead, we have to pick up the spear that the gnome sentinel has thrown to the ground. In the rocks of the wall there is a hole hidden under a cover. We will open that cover, insert the spear into the hole and pull it. In this way, metal stairs will descend that will allow us to climb to the top of the mountain.

At the top we will find another gnome. He will ask us for a valuable gem or stone to let us go down the wooden elevator. We will deliver the sugar crystals to him. But we don't need to use the elevator yet.
We will hang a piece of raw meat to the funnel that the gnome has on his head. After a few moments, the vulture will grab the meat and the funnel and take it away.
In this scenario we will also take a toad from inside the wooden box.
During the return trip, we will realize that the funnel has fallen on top of the termite mound. To catch it we will have to leave the raw meat on the flat rock in front, this way the termites will come out. This way we can recover the funnel.
Then we will head to the cave with the gas leak. We will introduce the funnel into the toad's mouth. We will use the toad with the funnel to inflate it with methane gas.
Once this is done, we will return to the diplodexus cave, descending with the elevator.
We will deliver the toad full of methane gas to the diplodexus. He will eat it instantly. Then we will use the tip of the spear to scratch the plates of the diplodexus and set it on fire. When the diplodexus blows it will cause an explosion and a tooth will pop out.

We should already have the three ingredients, so we will return to the shaman and give him the three objects. He will perform a ritual and locate Malgrim's tower. Then he will give us a stone ring.
Part VI. The tower of Malgrim.
The riddle of the menhirs
The first thing is to insert the stone ring into the hole of the large menhir. We will have to rotate the ring a couple of times until it is properly positioned. After doing this, some marks on the menhir will light up in a specific order and with a sound that distinguishes each one of them.

Then we will have to push some protuberances on the menhirs below, in the correct order, to replicate the same sounds.
The menhirs are numbered from left to right from 1 to 5, the order to press them is as follows: 3-4-3-3-1-2-5

Once this is done, the tower will appear before us, which until now was invisible.

Malgrim's Tower
At the entrance to the tower we will first talk to the spirit of the forest. To access the interior we will simply have to remove the stone that blocks the door.
Once inside, the first thing we will do is take the muzzle and remove the carpet to access the lower floor.

On the lower floor we will take the rope. We can also take the pot and put it inside the fireplace. It is not necessary to pick the nuts.
Once this is done, we will go up to the floor where the tree trunks are cut. On that floor we can take the tweezers. We can also tie the rope to the trunk and the gargoyle. We will go up to the next floor.

The next floor is Malgrim's room. Here we have to take the candle and the comb that is on top of the bed.
With the fishing rod we can try to get the key that is inside the fish tank. But unfortunately it will fall to the ground, under the wooden planks.
We will use the flute to make the mouse that is hiding in a hole in the wall come out. We will use the muzzle on the mouse, as if it were a harness. Then with the tweezers and comb, we will tie an improvised rake to the mouse.
We will use the mouse with the improvised rake to get it into the hole and recover the key. We will have to call him back using the flute again.

Before continuing up the tower, we can return to the lower floor and put the candle inside the pot. This way we will be able to melt it and obtain liquid wax. We will use this wax on the trunk tied to the rope. This way we can push it and throw it out the window. When it falls, it will tear the gargoyle off the wall.
Then we will only have to return to the entrance of the tower to take the metal gutter that was inside the gargoyle.
With the gutter and the key, we can go to the floor of the tower where the sawdust deposit is located. We will use the key to open the lock, and the metal gutter to channel the sawdust from the tank to the hole.

While the sawdust is falling through the hole, we have a few seconds before it reaches the bonfire and causes an earthquake in the keep. We will have to quickly climb to the roof where Malgrim is. Once there, during the earthquake, we will use the poker to throw Malgrim through the hole.

If we have kept the pink float this far, we can deliver it to Malgrim before throwing it down the hole.

After some scenes where they will tell us the end of the game, we will appear in a girl's room. We have to pick up and look at a video game that is on the shelf. In this way we will be shown a new game and the latest achievement.


Contributed by
Point & Pixel Adventures


")
